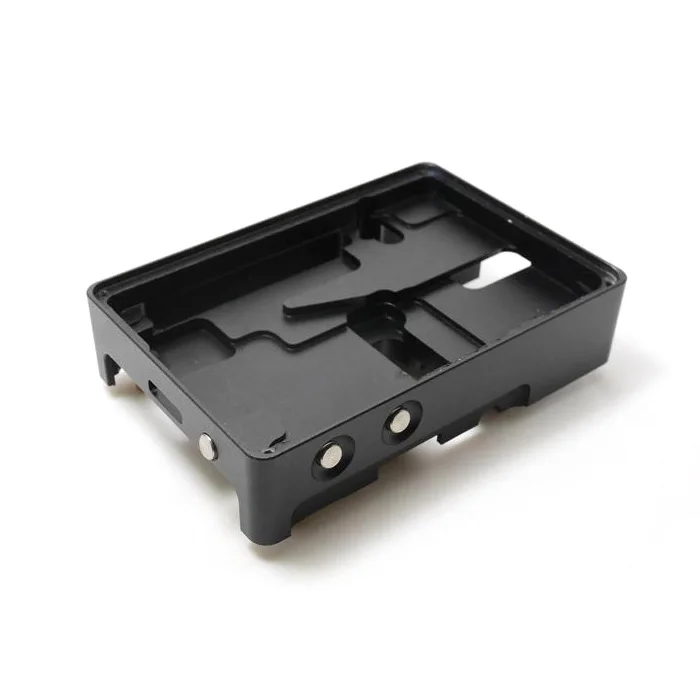
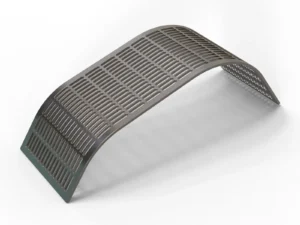
Al7075 is one kind of aluminum alloy with zinc as the main alloying element, belonging to the “super-hard aluminum”, it is also called “aerospace aluminum”, since its strength is much better than soft steel. With good corrosion resistance and mechanical properties, we often use Al7075 for structures that require high strength. But Al7075 is very easy to oxidize in the air, in order to increase the corrosion resistance and wear resistance of the material, many engineers will choose to do hard anodizing on Al7075.
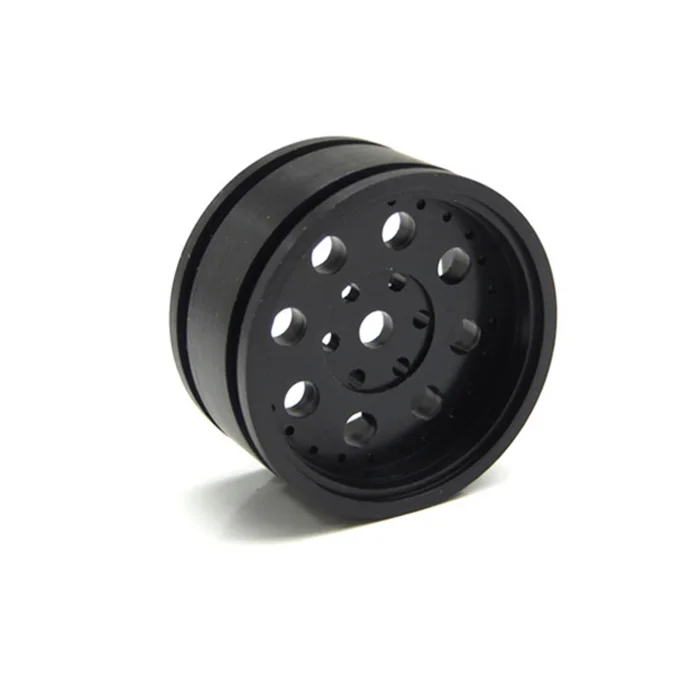
The advantages of hard anodizing on Al7075
- After hard anodizing, there will be a dense oxide film on Al7075 to prevent the part from oxidizing in the air.
- Generally, the thickness of oxide film is over 25μm, while the hardness is over 300HV, hard anodizing can increase wear resistance and corrosion resistance of parts.
- Hard anodizing can color parts for decorative effects.
Process for hard anodizing on Al7075
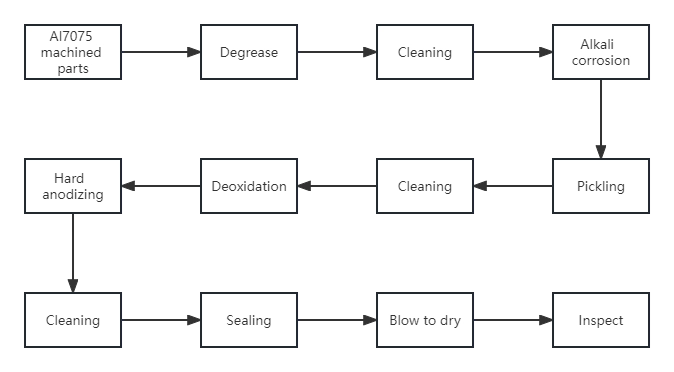
Things need to pay attention to hard anodizing on Al7075
- The temperature of anodizing tank should be low. When apply for hard anodizing on a part, the anodizing tank should be with low temperature, and suggested temperature is about 0℃. In this case, it will require powerful freezers and stirring circulators. The lower the temperature, the harder the oxide film hardness.
- High current density. Hard anodizing has higher current density and higher voltage. It is recommended that the voltage is more than 30V, the current density is more than 2.5A/dm2, the specific electrical parameters need to be combined with the tank temperature, sulphuric acid concentration, alloy material and so on.
- Step-by-step voltage increase. With pulse power supply or special waveform power supply, the boosting stage adopts the way of gradual incremental pressure, on the one hand, to avoid the material burnt under too high voltage, on the other hand, it can also promote the growth of the oxide film according to the normal way.
- Sanding sharp corners. Parts with sharp corners, burrs or sharp edges must be sanded smooth before anodizing.
- Chamfer. The radius of chamfer should not be smaller than 0.5mm, or the parts will be burnt due to localised heating caused by over-concentration of current.
- Surface roughness. The surface roughness of a part will change after hard anodizing. Smooth surfaces will be less smooth after hard anodizing. Rougher surfaces will be smoother than before after hard anodizing.
- Dimensions will change. After hard anodizing, the outer dimension of the parts will be larger, while the inner dimension will be smaller.
- Custom fixtures. Hard anodizing fixtures need to withstand high voltage and high current during the anodizing process, so it must be ensured that the fixture parts have enough contact surface, otherwise the parts will be burnt. At the same time, the parts in the hard anodizing process need to be subjected to electrolyte stirring. Therefore, the fixture needs to be strong and rigid enough so that the parts will not fall off when stirring the electrolyte.
- Refrigeration equipment. In the hard anodizing process, due to the high voltage and current, the electrolyte temperature rises sharply, and there must be enough power refrigeration equipment to ensure that the electrolyte temperature is constant.
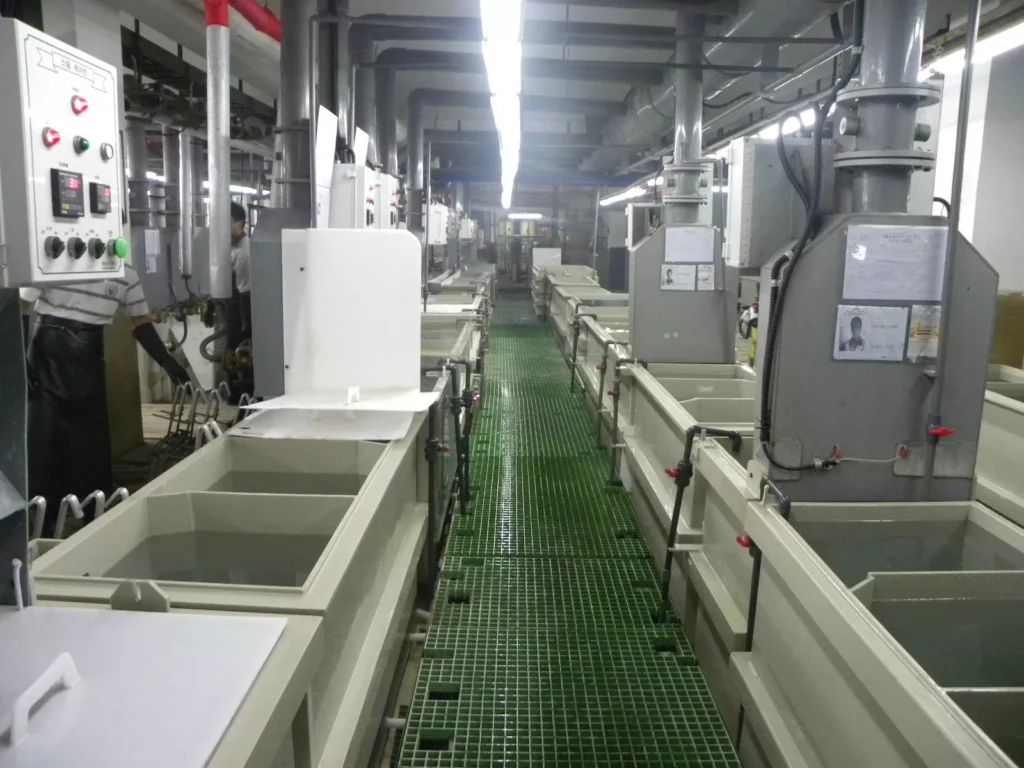
Factors influenced the hardness and thickness of oxide film on Al7075
- Electrolyte concentration. When hard anodizing with sulphuric acid electrolyte, the sulphuric acid concentration should be controlled between 10% and 30%. When the concentration is lower, the hardness of the oxide film is higher.
- Electrolyte temperature. The lower the temperature, the weaker the dissolving effect of the electrolyte on the oxide film. Therefore, in order to obtain a hard oxide film, it is recommended that the temperature in the tank be controlled at about 0℃, and the control temperature should not exceed ±2℃.
- Anodizing time. The longer anodizing time, the thicker the oxide film. But, at the meantime, this will also lead to a longer time for the oxide film to be dissolved by sulphuric acid, and the hardness of the oxide film will be reduced.
- Material composition of Al7075. Material composition will affect the uniformity and integrity of the oxide film. When the content of copper and silicon elements is larger, hard anodizing is more difficult.
Analysis of the causes and solutions to common hard anodizing problems
| Question | Reasons | Solutions |
| Thickness of oxide film is not enough | 1. Anodizing time is too short 2. Current density is too low 3. The calculation of anodizing area is not correct | 1. Prolong anodizing time 2. Increase the current density to a reasonable range 3. Accurate calculation of the effective area of the anodized part |
| Hardness of oxide film is not enough | 1. The temperature of the solution is too high 2. Current density is too high 3. The oxide film is too thick | 1. Reduce electrolyte temperature to a reasonable range 2. Reduce the current density to a reasonable range 3. Shorten anodizing time |
| Parts burnt | 1. The copper element in the material is too high 2. Poor heat dissipation of parts 3. Poor contact between parts and hanging fixtures 4. Voltage rises too quickly in hard anodizing | 1. Change material 2. Increase the gap between anodized parts, enhance electrolyte agitation and cooling 3. Improve the quality of parts hanging fixtures 4. Increase the pressure step by step |
| Color | 1. Current density is too high 2. The temperature of the solution is too high or too low 3. The parts are not washed thoroughly | 1. Reduce the current density to a reasonable range 2. Reduce electrolyte temperature to a reasonable range 3. Repeatedly wash features like blind holes or narrow grooves |
AL7075 hard anodized film thickness test method
- Destructive film thickness measurement techniques: microscopic cross-section thickness measurement, mass loss method, etc.
- Non-destructive film thickness measurement techniques: eddy current measurement method
Microscopic cross-section thickness measurement (over 5μm)
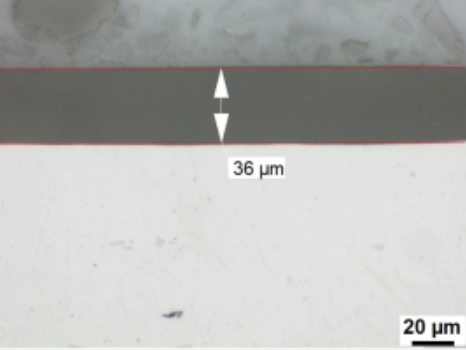
Microscopic cross-section thickness measurement is a lossy measurement method that uses a metallurgical microscope to directly observe the cross-section of the sample to be tested, which can directly reflect the local film thickness of the aluminum oxide film at a certain measurement position.
Although the microscopic cross-section measurement method is more intuitive and does not require information such as oxide film density or refractive index, and through the calculation of the value of the film thickness, but the measurement position (i.e., the microscopic cross-section and the measurement position) is limited in the range, so a position of the test data is not representative. Accurate information on film thickness uniformity can only be obtained by averaging multiple measurements. Under normal measurement conditions, when the film thickness is greater than 25μm, the measurement error can be less than 5%.
Precautions for measuring film thickness by Microscopic cross-section thickness measurement.
① Cutting the cross-section should be careful to avoid sharp edge or deformation;
②The cross-section of the part must be completely perpendicular to the surface of the part, and the deviation of perpendicularity will directly cause the error of thickness measurement. For example, vertical deviation of 10 °, the thickness error will be 2%;
③The metallographic microscopes need regular calibration to ensure the accuracy.
④While testing the hardness, ISO standards or domestic standards should be followed accordingly
Mass loss method (less than 5μm)
The mass loss method (also known as the weight method or weight loss method) calculates the thickness of the oxide film by the change in mass (i.e. weight loss value) before and after the removal of the oxide film. After determining the density of the aluminium oxide film, the average film thickness of the measured area A can be calculated according to the following formula.
δa=10-4W/(A·d)
In the formula, δa is the oxide film thickness μm. W is the weight of the removed oxide film g, i.e., the mass loss value. A is the surface area of the oxide film at the position to be measured cm2. d is the density of the oxide film g/cm3, which is also referred to as the apparent density.
Precautions for measuring film thickness by mass loss method.
①The area of the sample to be tested should be larger than 1000mm2.
②The oxide film on non-effective measuring surfaces can be removed in advance, or pre-prepared with electrical PVC plastic tape for masking protection
③ Aluminium samples shall not be in contact with other metals, the film-removing container should be made of glass or stainless steel, glass containers as the first choice for the film-removing container
④ heavy metal ions shall not contaminate the corrosive solution of phosphorochromic acid stripping, because the presence of heavy metal ions will accelerate the corrosion of the aluminium substrate.
⑤ 1L film removal solution dissolves about 12g oxide film, generally should be discarded and reconfigure the corrosion solution.
Eddy current measurement method (over 5μm)
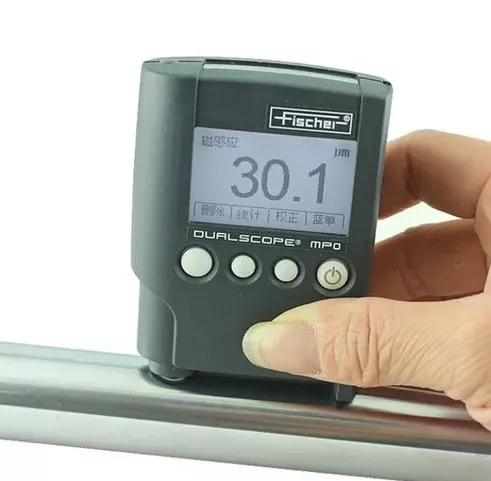
The principle of eddy current thickness measurement is to install a high frequency electromagnetic field generated by a high frequency AC coil in the measuring probe on the oxide film, so that the non-magnetic metal conductor under the insulating film produces an eddy current value, the size of this eddy current value is quantitatively related to the thickness of the film. The film thickness can be calculated according to the following formula.
C=Aε/(4πδ)
In the formula, δ is the thickness of oxide film μm, A is the surface area of oxide film cm2, and ε is the dielectric constant of oxide film.
When the probe of the eddy current thickness gauge is placed on the surface of the AL7075 hard anodizing film, the distance between the probe and the metallic aluminum substrate can generally be read directly on the instrument panel, and this distance is the value of the thickness of the non-conductive insulating anodized film.
The accuracy of the instrument readings directly with the zero calibration and standard film thickness calibration has an obvious relationship. Therefore, eddy current gauges must be zero calibrated and film thickness calibrated before each measurement, this is an indispensable measurement step. Eddy current thickness gauge cannot measure very thin oxide film, it is only suitable for the determination of oxide film with a thickness of 5μm or more. Because the measurement process does not damage the part, it is suitable to test the part during production process.
Both micro-section thickness measurement and eddy current thickness measurement have limitations in terms of measurement locations, so just one measurement value is not representative. Usually, 3-5 locations are measured, and the average thickness is determined.
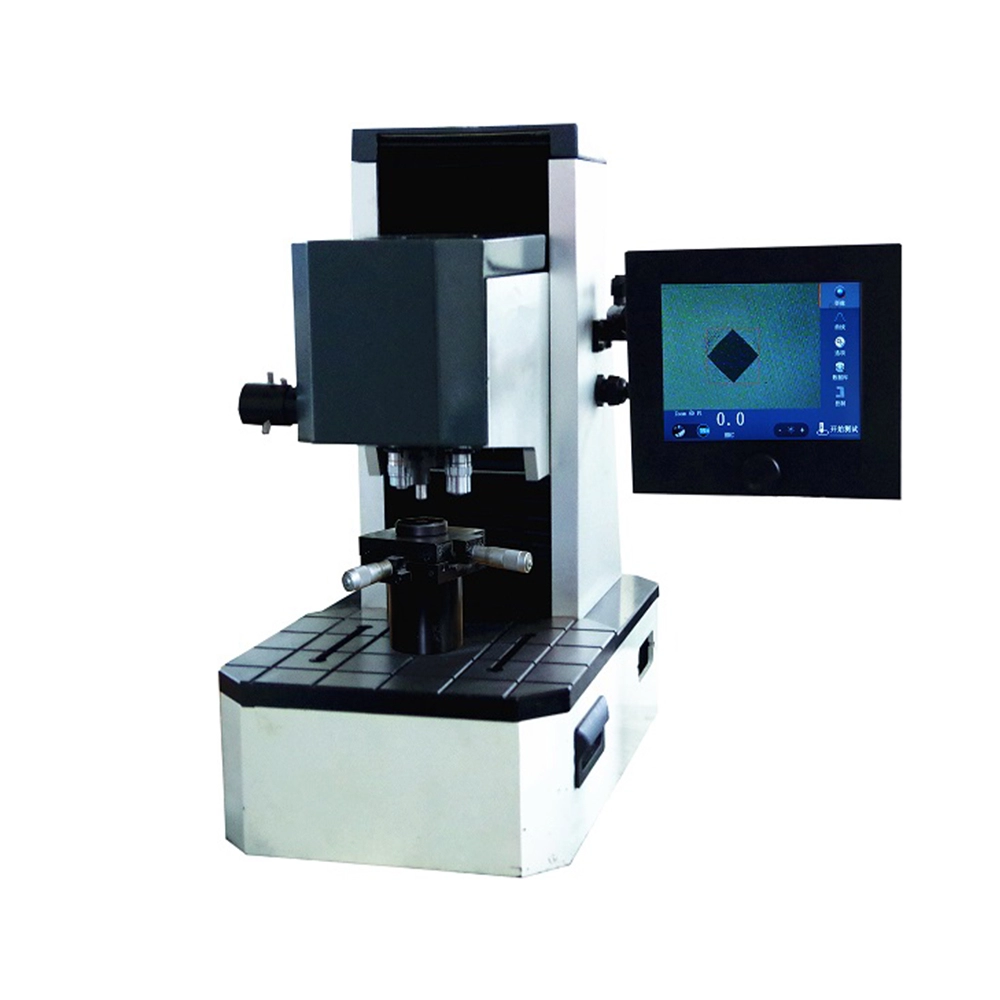
AL7075 hard anodized hardness test method: Vickers microhardness tester
The Vickers microhardness tester is first set to the required microhardness setting and then the hardness of the oxide film is measured. Again, the measurement positions are restrictive, and one measurement is not representative. So, it is necessary to measure 3-5 positions and then find the average hardness or see the hardness range.
Turnkey is a custom manufacturer with 20+ years of manufacturing experience, and our expertise and technical capabilities have made us an industry leader. Our manufacturing process follows strict international standards to ensure that each part meets the highest quality standards. We understand there are a variety of issues that may be encountered during the manufacturing process, and our experienced and skilled team is able to quickly resolve any challenges.
Whether it’s a design problem or a production difficulty, we are able to provide the best solution accordingly. In addition to parts manufacturing, we also provide comprehensive pre-sales and after-sales services. Whether it’s product consulting, technical support or after-sales maintenance, our team is fully committed to ensuring that our customers get the best service experience.


